
Over the past year, we have been observing with glee and joy 🥹 how contributions to ZubHub have made it more than just a weekend project that Srishti and I used to hack on. New features are constantly being proposed and added by our community contributors. With all this new code arriving, it was time to set up a staging and testing server to ensure what lands up in production servers works more or less fine. Here is a story of what this server contains and how we created it.
Keeping true to our tinkering roots, we reused components from an old computer and build a tiny, beautiful pink-colored staging server for ZubHub.
Building the hardware
Our staging server contains an Intel i3 6600K processor, two 240GB and 500GB disk drives, 8GB of RAM, a 450W power supply unit, and a pretty pink-colored case to hold this all together.
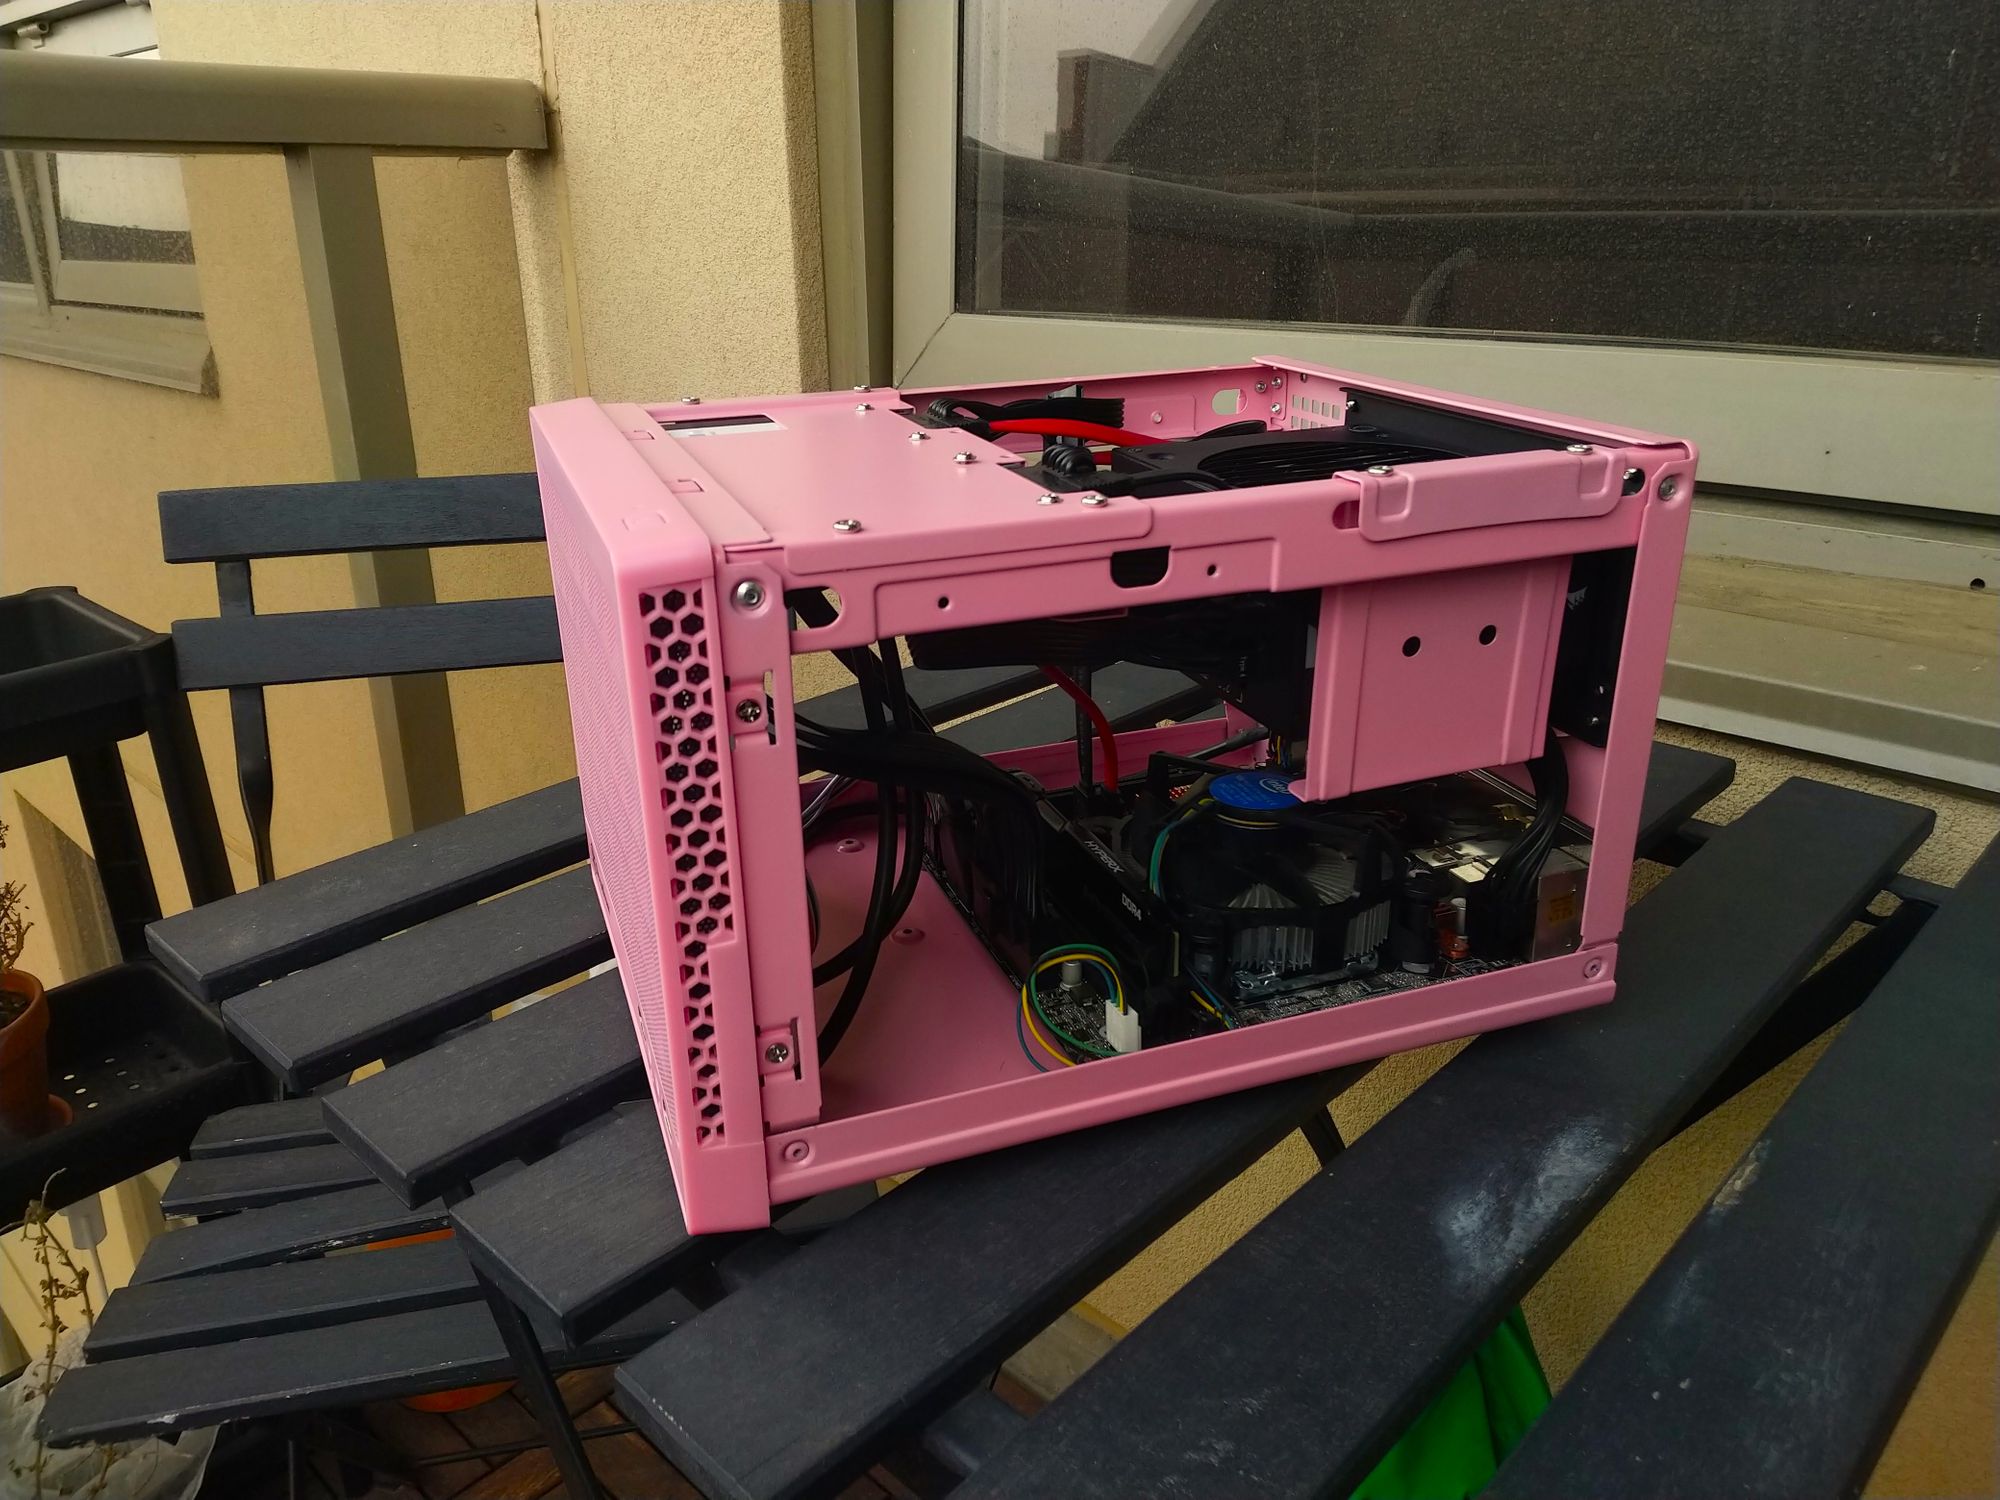
By no means this is "server grade" robust, but this is enough for our semi-automated workflow for testing new features and pull requests (PRs). If you, as a contributor, are wondering why it takes us time to merge your PR, it's because we are testing them on this humble machine :)
Configuring software
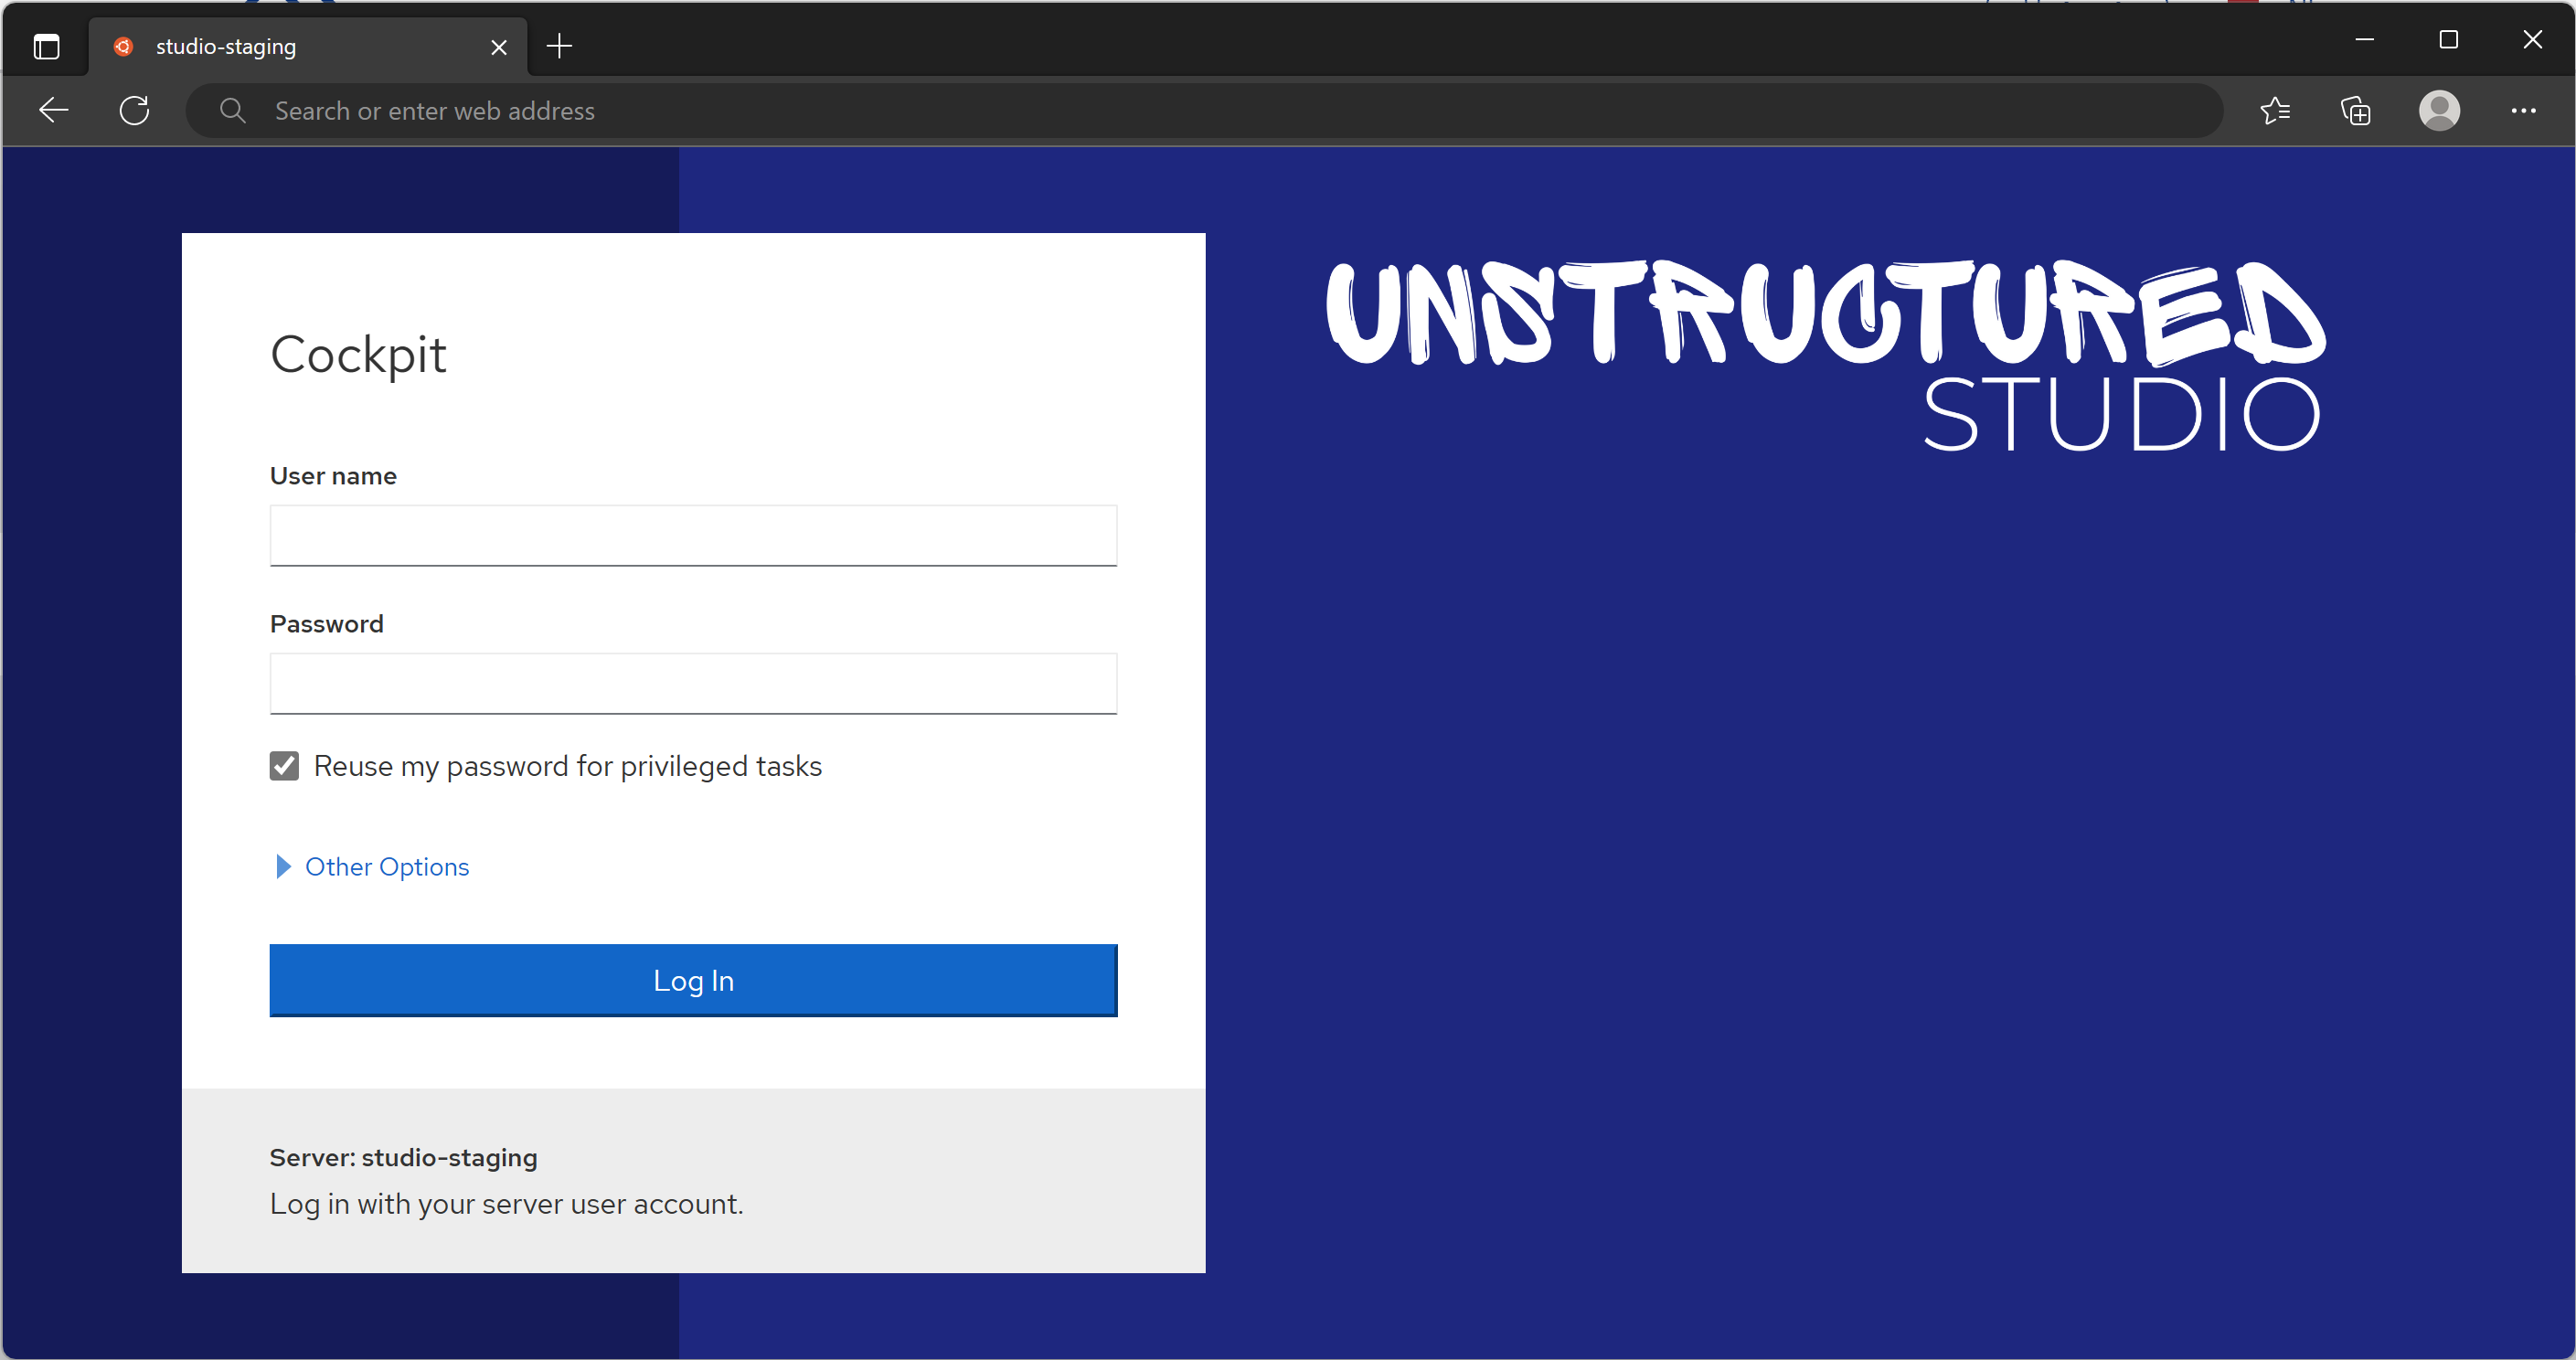
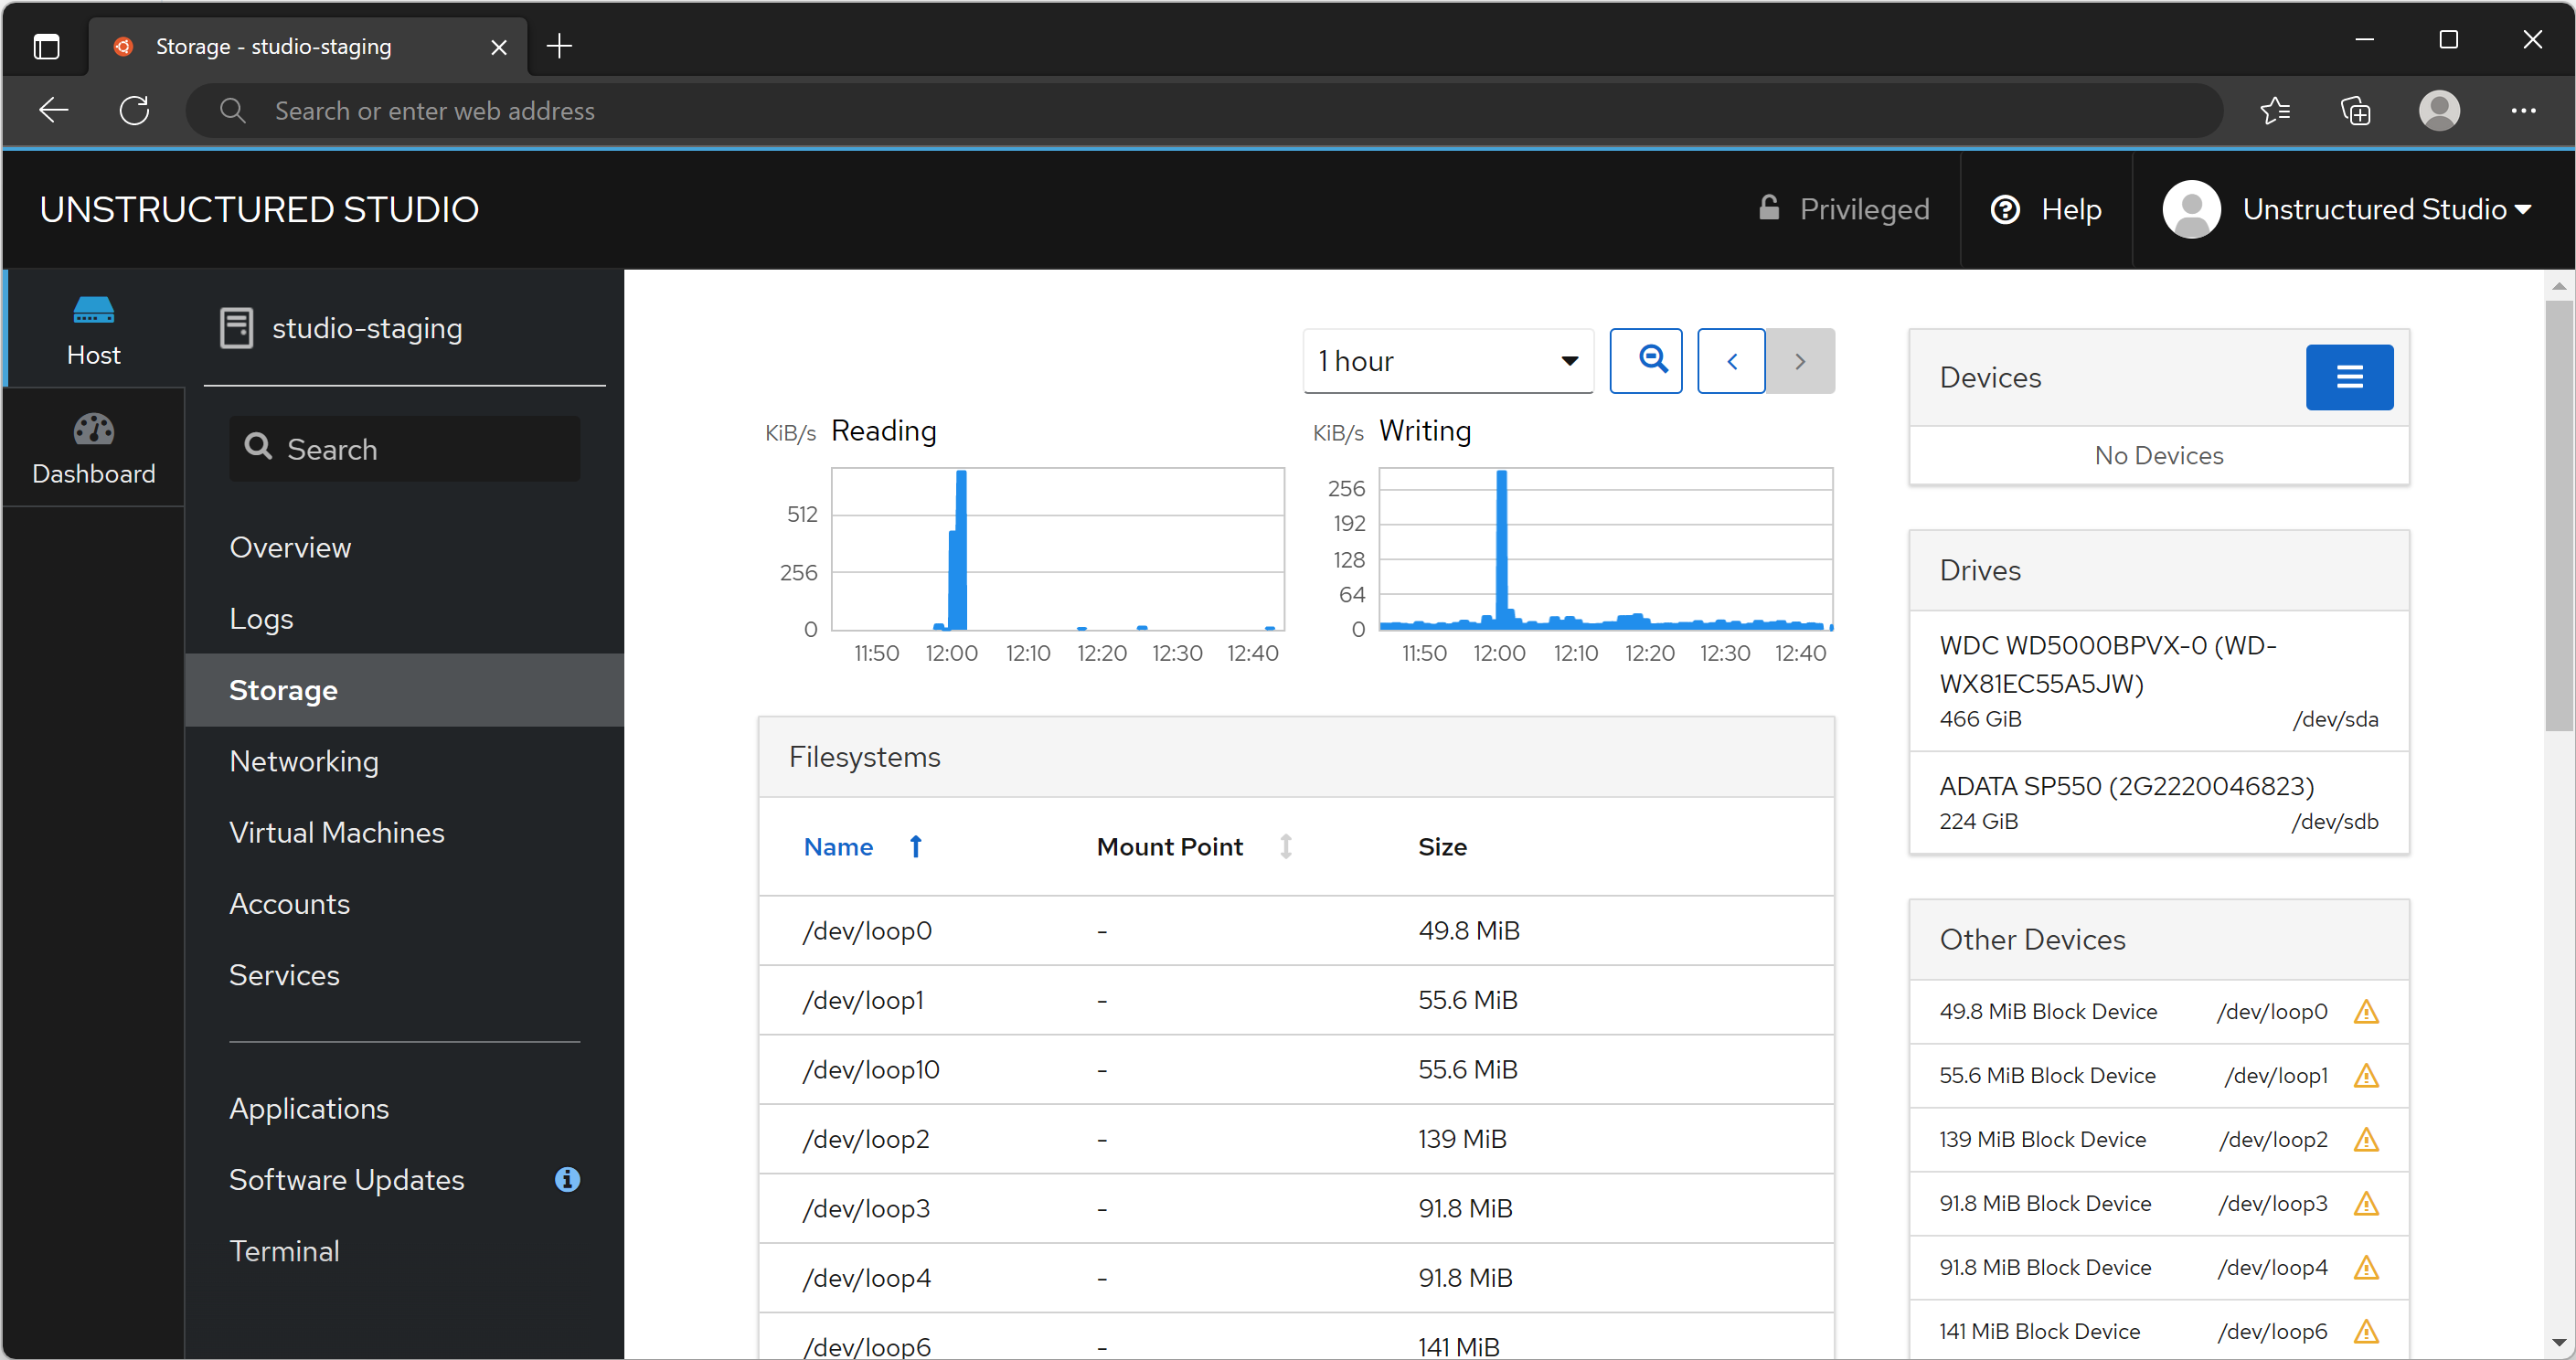
Every software component on this server is either FOSS or built upon open-source technologies. The base operating system is Ubuntu 20.04 LTS server edition. Over this, we have installed the Cockpit tool which we use to maintain the server's network and disks, update packages, and manage virtual machines and containers that run on this. We had to install the cockpit-machines package which enabled us to create virtual machines (VM) on this server. The ZubHub staging machine is essentially a VM in which we run scripts to quickly fetch the latest PRs, install fresh ZubHub, and then test them.
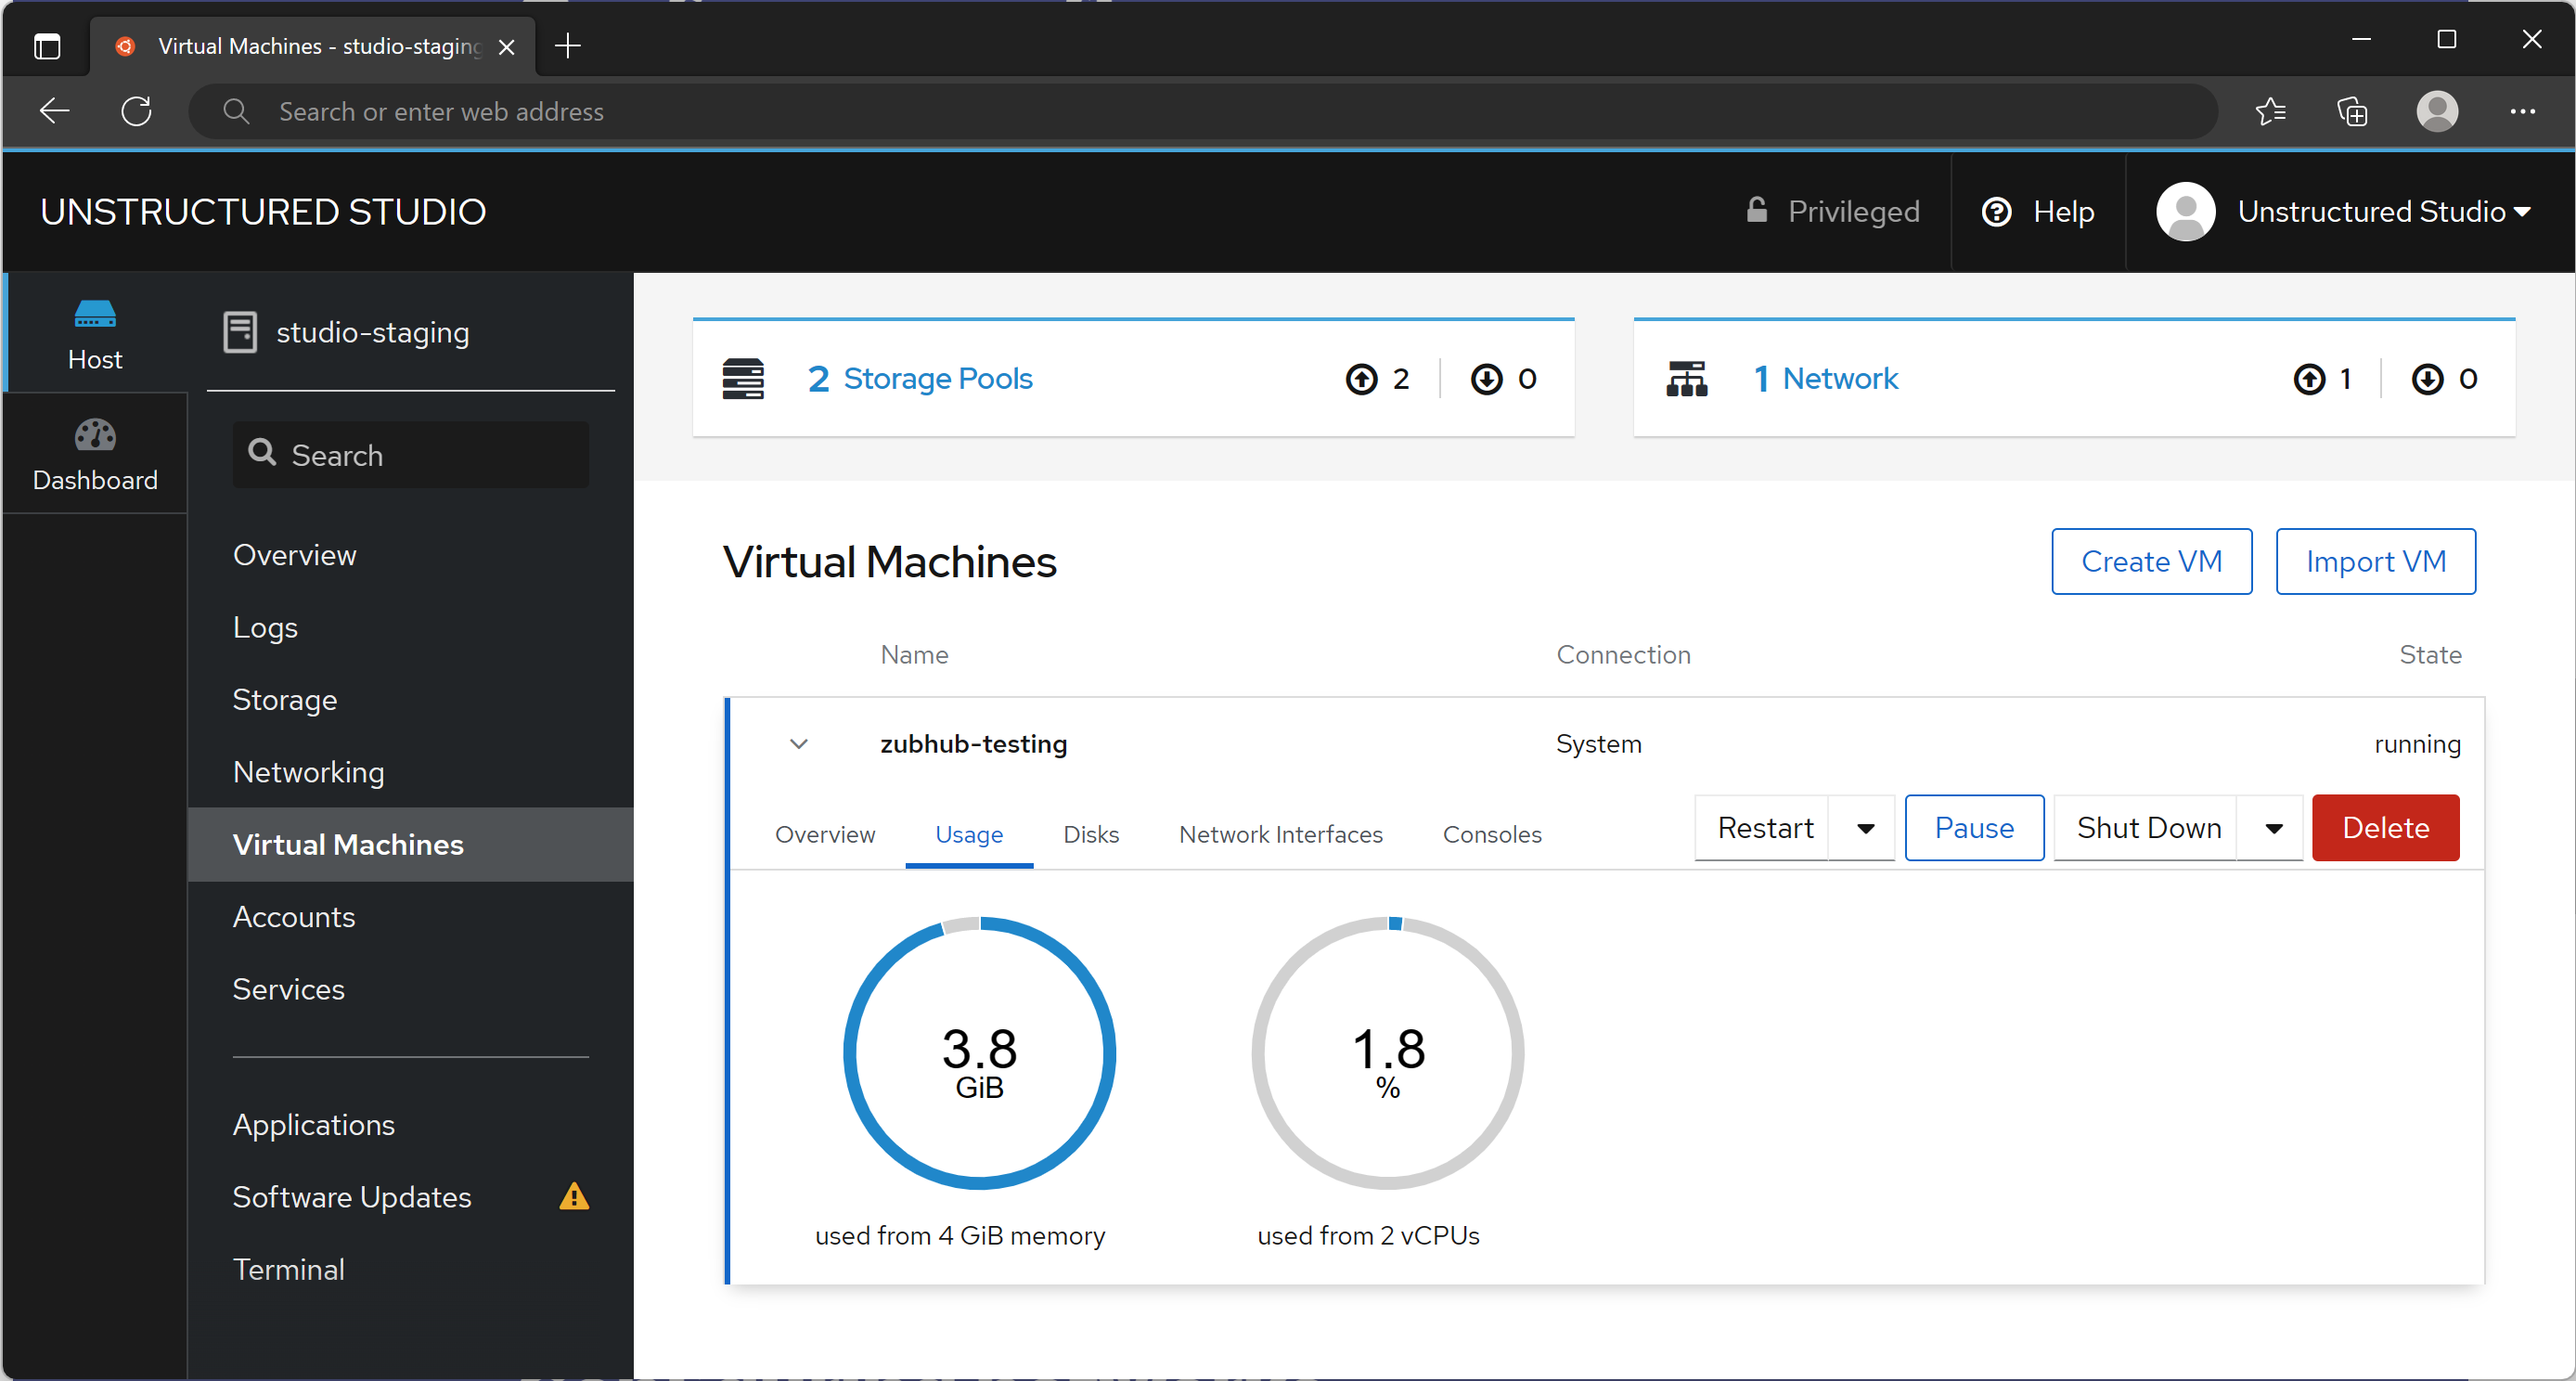
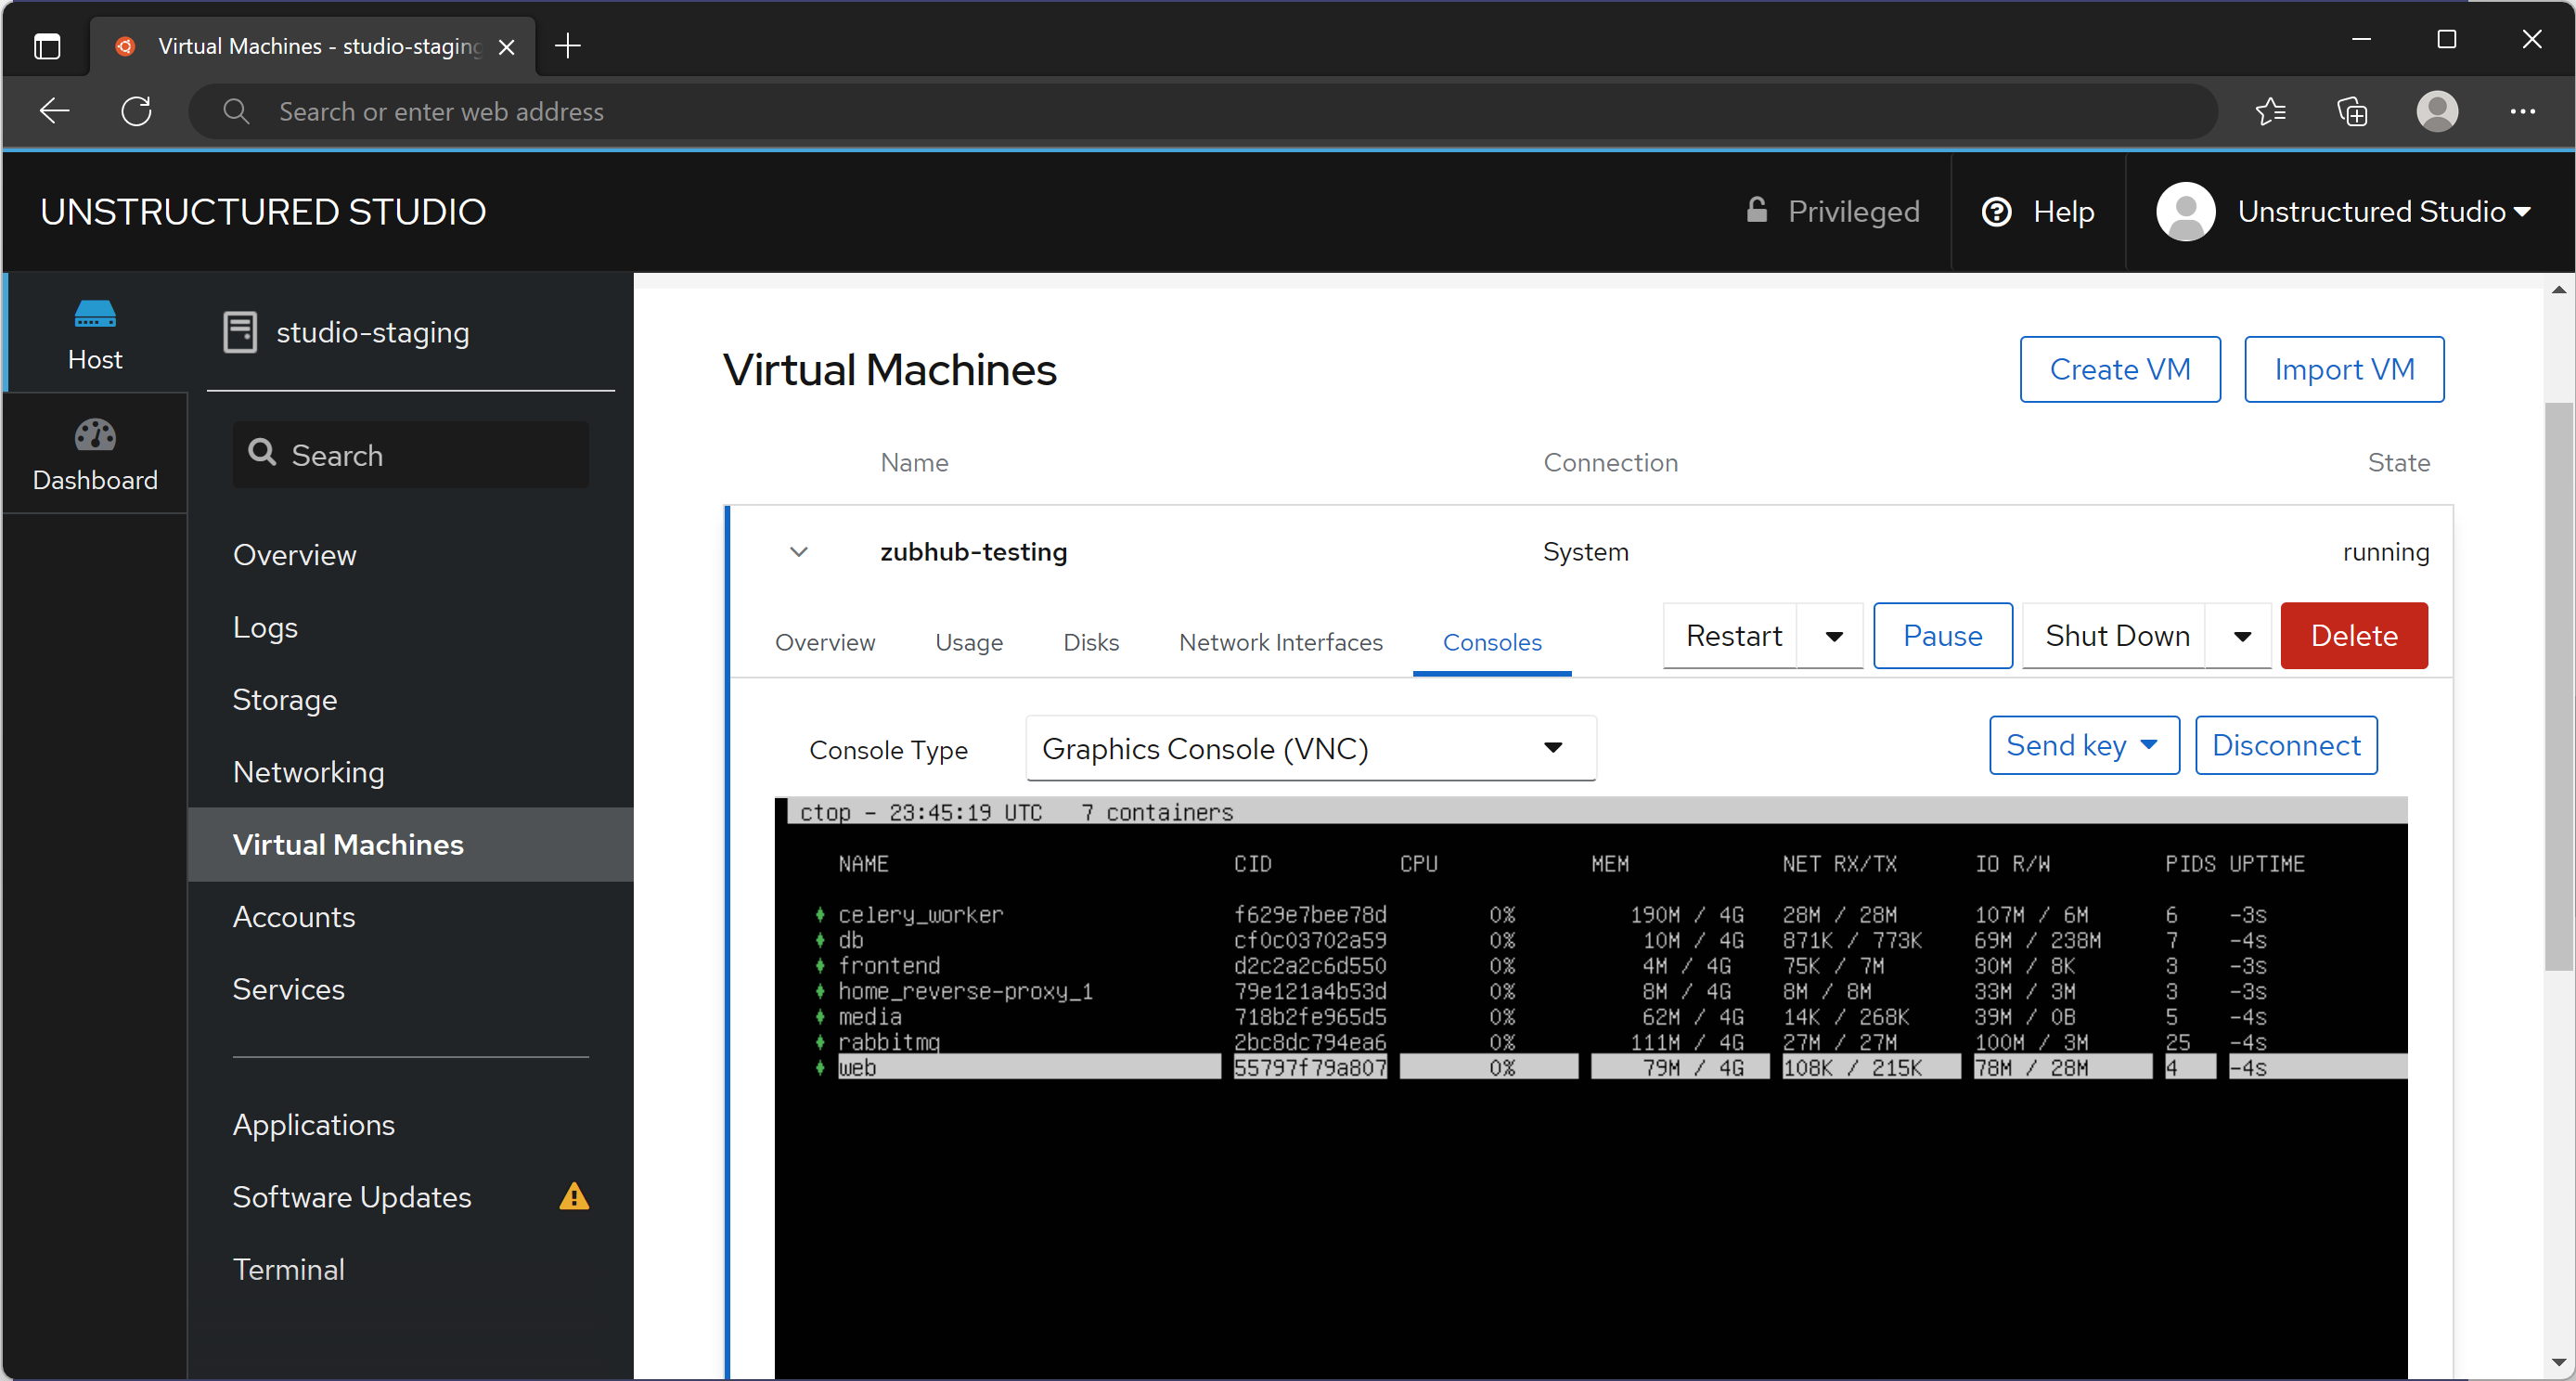
As you can see above, the zubhub-testing VM is running on the server which is where the actual ZubHub staging environment is hosted.
Configuring networks
The server is connected to a gigabit internet line at our office in Canada (Toronto). The host machine is only accessible via the local network. At the same time, the VM runs Tailscale to create a virtual private network (VPN) of trusted machines from which we can access the staging environment. For ease of access, we created a sub-domain that redirects to the zubhub-testing VM. Of course, this is only accessible from our private network. This provides some basic security as well as isolates the host server.
Staging & testing workflow
Whenever our contributors submit a PR on the ZubHub repo, that looks like an essential new feature or a significant UX improvement (such as this one), we run a small script on the zubhub-testing VM. This script clones the ZubHub repo, checks out the PR, rebuilds ZubHub and then sets up a fresh backend and frontend for testing. We then navigate to the staging environment and begin a round of manual testing. As we expand, we will replace the manual testing with automated testing scripts to ensure there is no regression as new features are added. Once testing is complete, the PR is merged to the master branch, which begins the build and deployment process on the main ZubHub instance. This build and deployment happens via GitHub actions.
Interesting in contributing to our project? Here is the link to our repository: https://github.com/unstructuredstudio/zubhub 😊